Blend modes do exactly what the name implies: blend two (or more) images together. To get the most out of video editing, learning to use blend modes is a must. Fortunately, they’re simple to use, and make the art of editing vastly more fun. Here’s our top 5 tips for using blend modes:
1. Know Which Blend Modes Affect Different Colors
Certain groups of blend modes affect specific colors. With practice, it becomes easier to remember which groups affect which colors.
To remove white pixels, use Darken Blend Modes (Darken, Multiply, Color Burn, Linear Burn, Darker Color).

To remove black pixels, use Lighten Blend Modes (Lighten, Screen, Color Dodge, Linear Dodge, and Lighter Color).

As a combined effect, Contrast Blend Modes affect pixels in between black and white. To blend gray pixels, use Contrast Blend Modes (Overlay, Soft Light, Hard Light, Vivid Light, Linear Light, Pin Light, Hard Mix).

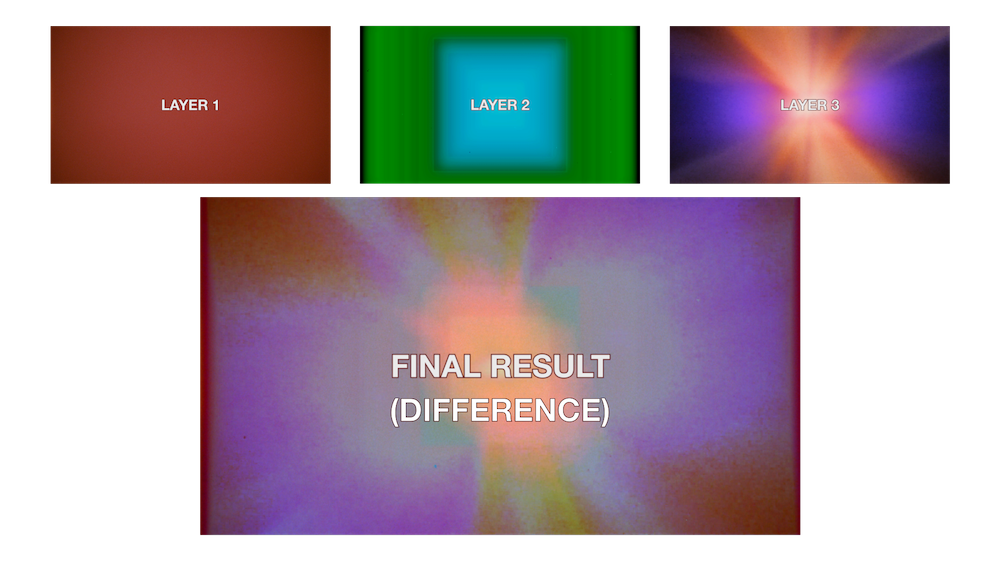
2. Experiment with Inversion Blend Modes
Inversion Blend Modes (Difference, Exclusion, Subtract, Divide) will blend variations of color between each layer. Test these modes to create highly stylized results. In this example, we combines a red grain layer with a colorful background layer and motion element to create a wildly colorful textured result.
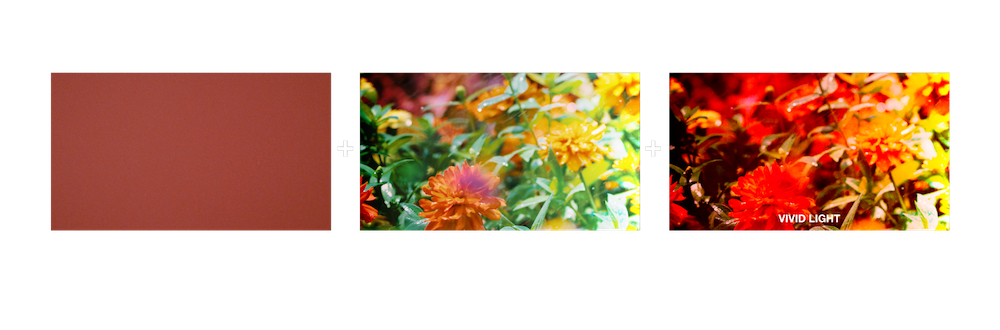
3. Set the Mood By Blending Color Layers
As a quick substitute (or supplement) for color grading, try adding a color matte above a clip in your timeline, then test different blend modes to create an entirely new mood within your project.
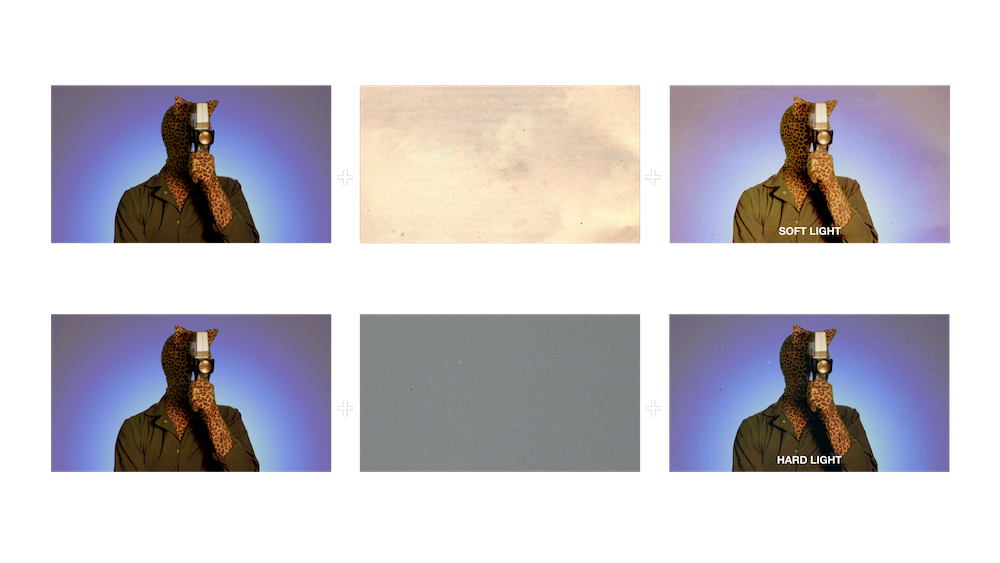
4. Add Instant Texture to Your Footage
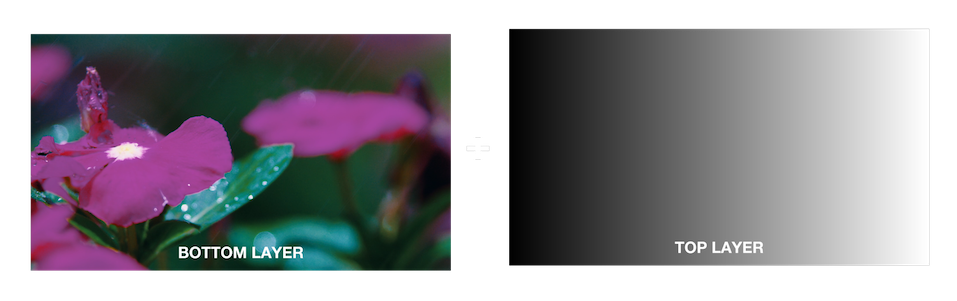
When digital footage feels just too sleek for your final result, blending textured layers can instantly give your project feeling.
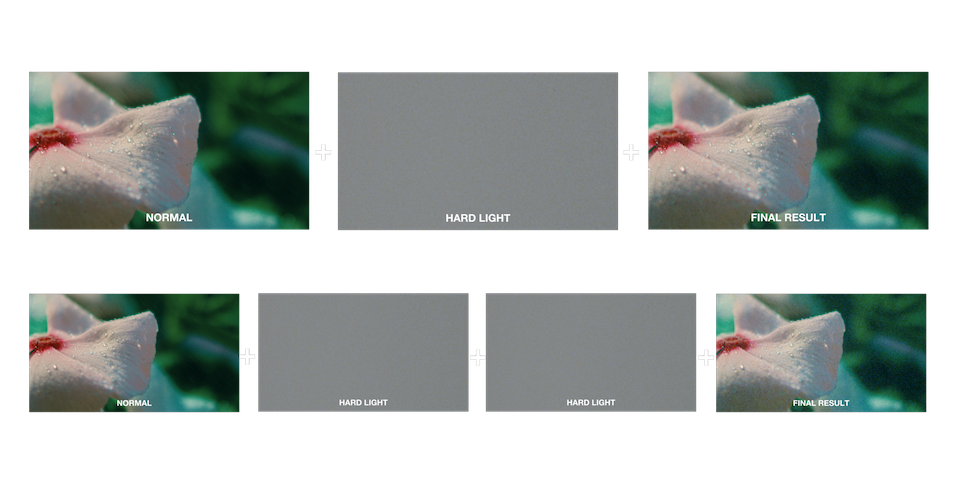
5. Duplicate Blended Layers
Once you’ve blended layers, quickly test that you’ve achieved the best result by duplicating the blended layer. You may find a more pronounced look even better!
Understanding basic blend mode techniques will expand your skillset and enhance your workflow as a video editor. With practice, knowing the right blend mode to use will become second nature!
Practice blend modes with these packs